In situations where the optional Version Workbench feature for full package builds to distribute the Version Workbench library is not used, or when you are instantly starting to use Version Workbench during installation prior to the deployment process, you need to execute the supplied Version Workbench dll distribution executable manually. It is recommended to centrally save this supplied Version Workbench dll distribution executable in a VersionWorkbench folder under your ThirdParty location in the “OneWorld Client Install” folder on your deployment server. The screens of the Version Workbench Post-Deployment Setup:
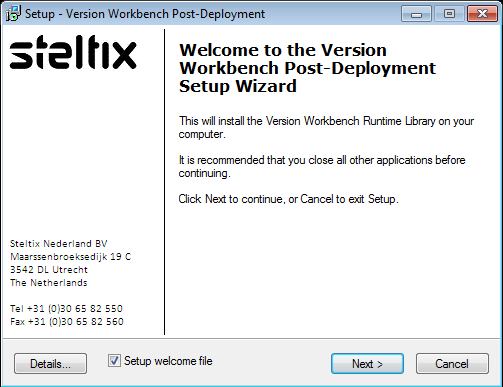
There is no need to close any application other than the Version Workbench before continuing with the setup. The Welcome file setup is optional, but recommended. You will need to specify the network location of your ObjectManagement queue. You only need to specify this location once per workstation, it will be stored in the registry and used form there in future executions.
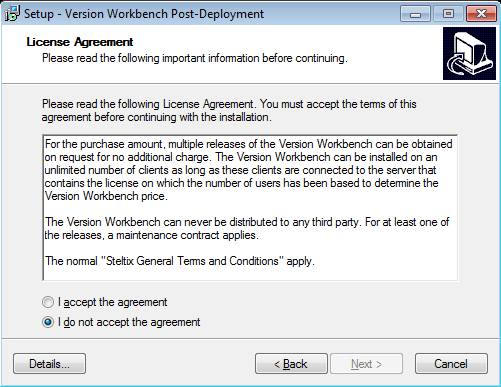
Accept the agreement and click Next to continue.

This screen will not show when the checkbox for the Welcome file setup was deselected on the first screen. An existing path is mandatory here.
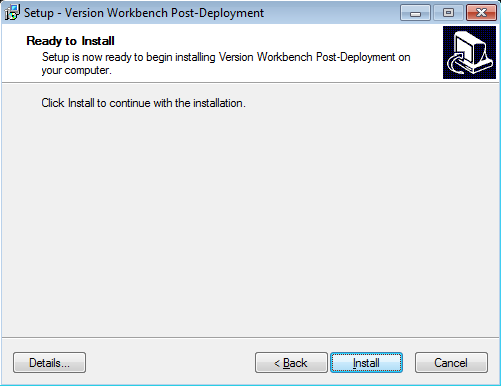
Click Install to perform the actual library copy and move to the Finish screen.
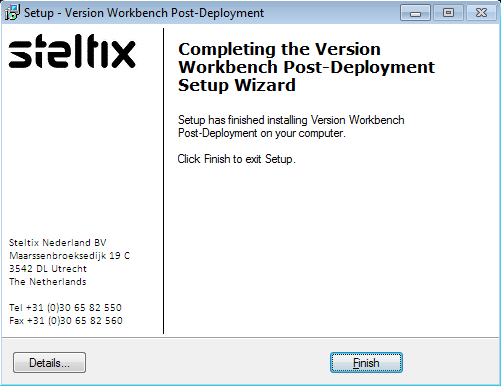
Click Finish to exit the Version Workbench Post-Deployment setup.
Finally, to start the Version Workbench application, give Fastpath command VW.
Keep your supplied license key at hand as you need to enter it in the Version Workbench application at first time execution.